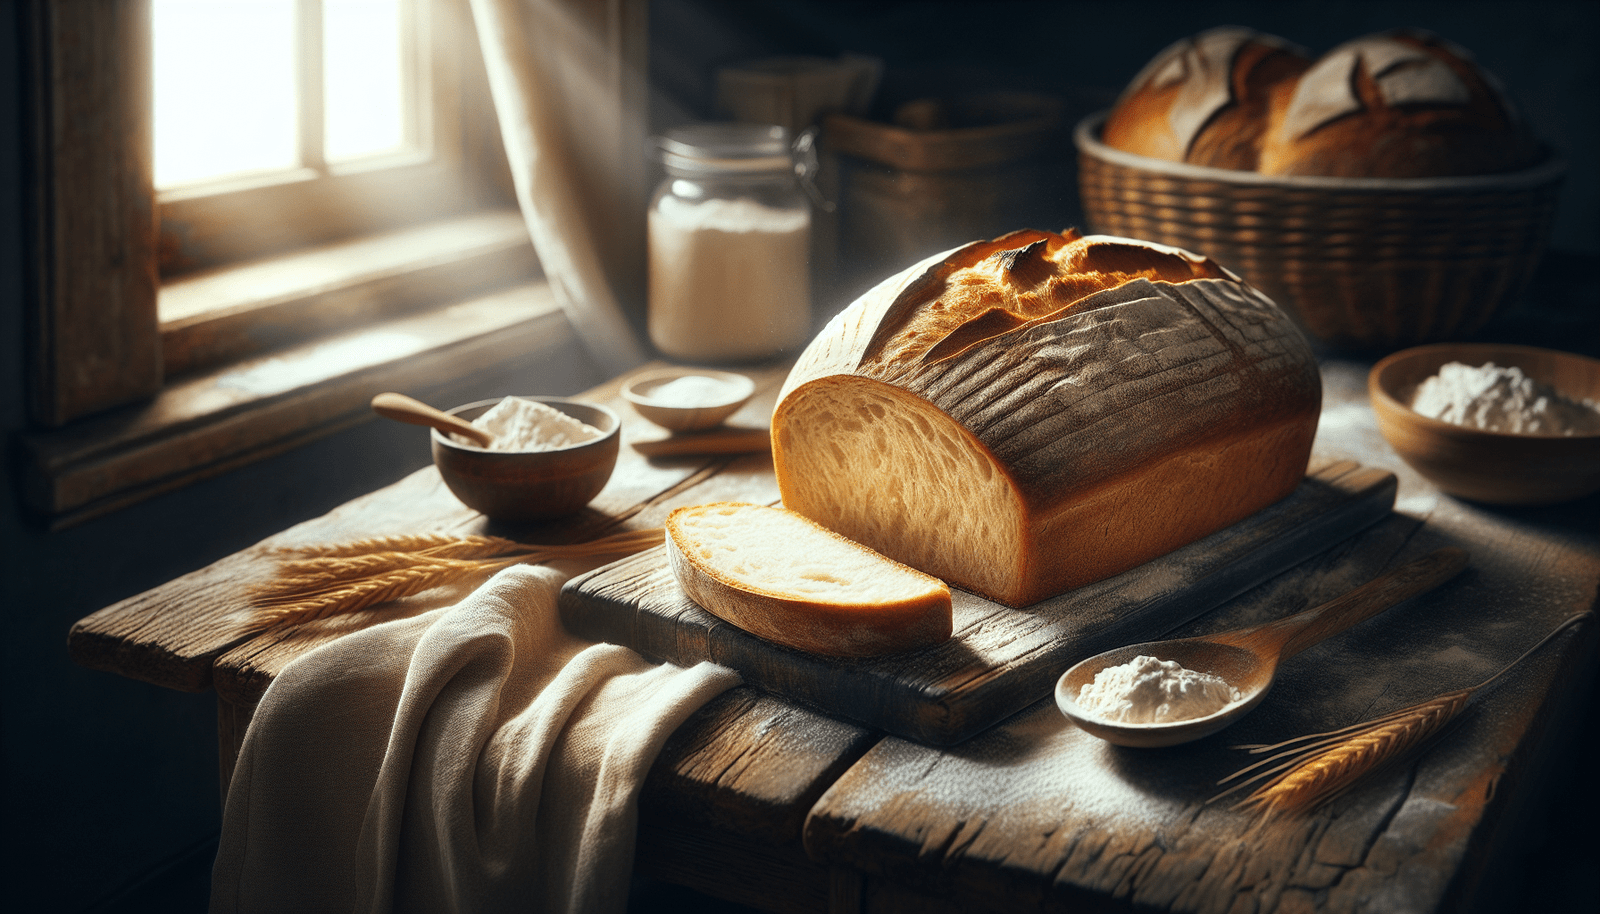
Have you ever wondered if there’s a way to enjoy homemade bread without the worry of high oxalate levels? If you’re someone who needs to monitor oxalate intake due to kidney issues or other health-related reasons, baking low-oxalate bread at home can be a delightful and healthy choice. Embarking on this baking journey can not only be rewarding but also offer peace of mind knowing exactly what’s going into your loaf. Let’s guide you through the process with friendly tips and charming insights into creating bread that’s as kind to your taste buds as it is to your health.
Understanding Oxalate and Its Impact on Health
Before you start with your baking adventure, it’s important to understand what oxalates are and how they affect your body. Oxalates are naturally occurring compounds found in many fruits, vegetables, nuts, and seeds. While they are harmless for most people, excessive intake can pose issues for individuals predisposed to kidney stones or certain other health conditions. Keeping oxalate levels in check is essential, which is why you might be considering alternatives, like low-oxalate baking.
What Are Oxalates?
Oxalates, or oxalic acid, are compounds that bind with minerals like calcium in your body. In most cases, these compounds are excreted through urine. However, if you have a high oxalate intake and your body can’t process them effectively, they can crystallize and potentially cause kidney stones. For this reason, recipes low in oxalate are often recommended for those with calcium oxalate stones or similar concerns.
Benefits of Low-Oxalate Bread
Switching to low-oxalate bread isn’t just about avoiding risks; it also opens the door to various health benefits. Reducing oxalate intake can help in minimizing the formation of kidney stones, improving digestive health, and enhancing calcium absorption when balanced with other minerals. Moreover, baking your own bread allows the flexibility to choose high-quality, wholesome ingredients tailored to personal health needs.
Ingredients for Low-Oxalate Bread
Crafting a delicious low-oxalate bread requires the right combination of ingredients. Let’s talk through what you need to keep in mind when selecting components for your recipe.
Essential Ingredients
Creating low-oxalate bread means opting for ingredients with lower oxalate content. Here are some recommendations:
- Flour: Use white flour or low-extraction flour, as these tend to be lower in oxalates compared to whole grains.
- Yeast: Common active dry yeast works perfectly for our needs.
- Sweeteners and Fats: Table sugar and butter or margarine in small amounts can be used, keeping the flavors gentle and balanced.
- Salt: A touch of salt enhances the taste while maintaining necessary mineral content.
Ingredient Comparison Table
To simplify your ingredient selection, here’s a quick comparison:
| Ingredient Type | Low-Oxalate Options | Higher-Oxalate Options (To Avoid) |
|---|---|---|
| Flour | White, pastry | Whole wheat, almond |
| Sweeteners | Table sugar, honey | Blackstrap molasses |
| Fats | Butter, margarine | Nut-based oils or butters |
Optional Add-Ins
Want to add a little pizzazz to your bread? Consider incorporating low-oxalate seeds like sesame or gently folding in some low-oxalate dried herbs for aroma and flavor without overdoing it on oxalates.
Tools Needed for Baking
Once your ingredients are lined up, it’s time to gather the tools for your baking session. The right tools make the process smoother and more enjoyable.
Must-Have Baking Tools
Prepare these tools for a successful baking experience:
- Large mixing bowls for combining your ingredients
- Measuring cups and spoons for accuracy
- A sturdy wooden or silicone spoon for mixing
- A sifter or sieve to aerate your flour
- A standard loaf pan or two for shaping your bread
- Oven mitts for safety
Optional Tools for Enhanced Experience
Sometimes, a little extra investment in tools can lead to a superior baking experience:
- A stand mixer or bread maker can save time and effort, especially for those who plan to bake regularly.
- A digital scale for precise measurements.
Baking Process Step-by-Step
Let’s walk through the baking process to ensure your low-oxalate bread comes out perfectly every time.
Step 1: Preparing the Dough
Start by sifting your low-oxalate flour into a large bowl. Add your active dry yeast, a pinch of salt, and sugar. Mix these dry ingredients gently. Gradually introduce lukewarm water and mix until a slightly sticky dough forms. It’s this foundational dough that will provide the structure and chewiness we love.
Step 2: Kneading the Dough
Transfer the dough to a floured surface and knead it for about 8-10 minutes. This not only ensures even distribution of ingredients but also develops the gluten network that gives bread its springy texture. Be consistent and patient; good kneading can make all the difference.
Step 3: First Rise
Place your kneaded dough in an oiled bowl, covering it with a clean damp cloth. Let it rise in a warm area for about 1-2 hours, or until it doubles in size. This rise allows the yeast to do its magic, resulting in a fluffy loaf.
Step 4: Shaping
Once risen, gently deflate the dough and shape it into your greased loaf pans. Here, you can decide on a simple loaf or create fancy twists or patterns, which can be particularly delightful if serving to guests.
Step 5: Second Rise
Cover the shaped loaves and let them rise again for about 30-60 minutes. This second rise, or “proofing,” will give the bread its final shape and ensure a tender crumb.
Step 6: Baking
Preheat your oven to 375°F (190°C). Bake your bread for 30-35 minutes, or until it’s golden brown and sounds hollow when tapped. The aroma will tempt you, but resist the urge to slice too soon!
Tips for Perfecting Your Low-Oxalate Bread
Baking is both an art and a science. Here are some extra tips to help you perfect your low-oxalate bread.
Mind the Temperature
Yeast is sensitive to temperature, so ensure your water is not too hot or too cold. Aim for lukewarm or slightly warmer than body temperature (around 110°F or 43°C).
Experiment with Flavors
Even within the constraints of low-oxalate ingredients, don’t hesitate to play with flavors. Add a touch of citrus zest or sprinkle some safe seeds to keep things interesting.
Store Properly
Once your bread is fully cooled, store it in a bread box or a sealed plastic bag to maintain its freshness. Homemade bread can dry out quickly, so consider freezing portions if you’re not consuming them within a couple of days.
Adapting to Dietary Needs
Creating bread that aligns with your dietary requirements is crucial. Let’s address some concerns and make it easy for you to adapt.
Gluten-Free Low-Oxalate Bread
If you’re also on a gluten-free diet, replace regular flour with a blend of gluten-free flour and xanthan gum for elasticity. Be mindful of the oxalate content of the respective flours.
Vegan Low-Oxalate Bread
Substitute butter with vegetable shortening or coconut oil, while maintaining the integrity of the bread. Coconut oil provides a gentle sweetness, enhancing the overall flavor profile.

Conclusion: Embrace the Joy of Homemade Baking
Baking low-oxalate bread at home opens the heart (and stomach) to endless possibilities. It’s more than just a dietary necessity; it’s a comforting, creative process that can bring warmth and health to your household. Whether you’re new to the world of baking or a seasoned pro, crafting your very own low-oxalate loaf can be a delightful experience, filled with the aromas and satisfaction of a job well done. Dive in with enthusiasm, and you’ll find that each loaf is a testament to the joy and art of mindful cooking. Here’s to happy, healthy baking!


